Why get involved in making wine at home?
INEXPENSIVE
Making your own wine is much cheaper than buying bottles from the grocery or liquor store. Once you cover the upfront costs of all the supplies and equipment discussed below, you’ll need to get started. Making additional batches of wine can cost as low as $3.00 per bottle.
EASY
Making your own wine is easier than brewing your own beer. Most wine-making kits come with step-by-step instructions to follow. The basics don't take long to master. With experience, you can start experimenting with more complicated winemaking recipes and formulas.
STRESS-RELIEVING HOBBY
Certainly, a big reason we got started was the Coronavirus pandemic, which was then in full swing. Regardless, winemaking itself can be a very relaxing activity. It requires enough focus that you’ll forget about your other stresses. And it is simple enough that you won’t get frustrated with the process.
WINE TO SHARE
one batch from a home winemaking kit yields at least five bottles of wine. If you start making your wine, you’ll always have bottles of your own creation to enjoy with family and to share with friends. Now, you’ll always have a unique gift to give to the host when you attend parties and other social gatherings.
 MAKING NEW FRIENDS
Making wine is a great way to make some new friends. Whether in person or online, you won’t be able to help yourself by connecting with others who also love the craft of winemaking. One of the best parts about getting into winemaking is sharing your batches with others once they’re complete.
HAVE FUN DOING IT
Making wine is fun! Who doesn’t enjoy learning something new and working on a new craft? Plus, the feeling you have when you finish your first successful batch and pour the first glass of your very own wine is a feeling that can’t be rivaled.
GREAT CONVERSATION STARTER
“What’s new?” Now, you finally have an answer to that annoying, frequently-asked question. Instead of replying with a boring “nothing” or, “oh, you know, same old,” you’ll have an exciting new topic to talk about.
GET TO DRINK IT
Perhaps the best reason! After all, once you’re done making it, you get to drink it! Invite the neighborhood over, and hold a wine-tasting party. Are we invited?
Starter equipment

Note: All items are available on Amazon. Items C - G are optional.
A - Master Vintner Wine Making Equipment Starter Kit with Plastic Big Mouth Bubbler and Glass Carboy
B - Master Vintner - Tropical Bliss Winemaking Recipe Kit - Makes 6 Gallons (Raspberry Merlot)
C - Fermenter Adhesive Crystal Strip Thermometer 46-82F Ideal for Wine Brewing and Fermentation
D - Winware Aluminum Measure 4 Quart
E - NUCU Artisan Utility Bus Box and Storage Bin with Handles, 2-Pack
F - Empty Quart Spray Bottle with Top Quality Trigger (32 oz)
G - Obstal 100% Waterproof PVC Table Cloth, Oil-Proof Spill-Proof Vinyl Rectangle Tablecloth
Important note: Follow the instructions that accompany your particular wine kit)
PRIMARY FERMENTATION (completed on day 6)
-
Make sure that your primary fermenter is capable of holding at least 6.5 US gallons before beginning. This extra volume is necessary to contain any foaming during primary fermentation. The Big Mouth Bubbler® Plastic has gallon markings along the side. The top mark is the 6-gallon line.
-
Cleaned and sanitized the primary fermenter and lid, spoon, hydrometer and test jar, wine thief, bung, airlock, and thermometer. Rinsed them thoroughly.
-
Carefully pour the contents of the juice bag into the primary fermenter.
-
Added two cups of warm water to the juice bag. Rinsed the remaining juice out of the bag and added it to the fermenter.
-
Toped up the fermenter to the six-gallon mark with lukewarm water and stirred vigorously for 30 seconds. Took a specific gravity reading and made a record of it. The target-specific gravity is between 1.080 and 1.095.
-
Checked the temperature of the juice in order to maintain it between 72°F and 77°F.
-
Sprinkled the contents of the yeast packet onto the surface of the juice. Did not stir it in.
-
Placed the lid on the fermenter. Assembled airlock and bung (filled half full with water) and placed in the hole in the lid.
-
Placed the fermenter in an area with a temperature of 72°F and 77°F for five to seven days.
Note: Warm temps here in Southern MS necessitated placing the fermenter in the house, and set the AC thermostat accordingly.

SECONDARY FERMENTATION (started on day 6)
-
Primary fermentation was mostly complete. Cleaned and sanitized siphon rod and hose, hydrometer and test jar, wine thief, carboy or jug, bung, and airlock. Rinsed well.
-
Carefully removed bung and airlock and then lid from the primary fermenter. Take and record a specific gravity reading. Ours achieved the target gravity is 1.010 or less.
-
As per the photo at the left, place the secondary fermenter (glass carboy) directly below the primary and siphoned the wine into it. Left the thickest sediment behind but transferred most all of the liquid.
-
Do NOT top up at this stage. This space is required for stirring and additions during stabilizing.
-
Attached is the airlock and bung to the carboy or jug. Remember to fill the airlock halfway with water.
-
Left the carboy in the fermentation area (Master bedroom) for 10-12 days to complete fermentation.
STABILIZING, CLEARING, & DEGASSING (day 18)
-
All fermentation should be complete. Check your specific gravity and do not proceed until it is at or below 0.995. You may need to allow extra time for fermentation to finish, especially if your winemaking area is cooler than 72°F. At this stage, all carbon dioxide gas has to be removed from the wine for stabilizing and fining to be effective. You will need to stir the wine very vigorously during this step.
-
Clean and sanitize the hydrometer and test jar, wine thief, and degasser. Rinse well.
-
Carefully remove the bung and airlock from the fermenter. Take and record a specific gravity reading. The target gravity is 0.995 or less.
-
Add any stabilizing agents your kit may have included. Dissolve in water first before adding to your fermenter.
-
Using the degasser, stir vigorously for 60 seconds to drive off CO2 gas.
-
Add any fining agents straight into the carboy and stir vigorously.
-
Replace the bung and airlock on the fermenter. Return to the fermentation area for 14 days to clear.
BOTTLING
-
Wine should be completely clear. Clean and sanitize the primary fermenter, hydrometer and test jar, wine thief, 30 wine bottles, bottle filler, siphon rod, and hose. Rinse well.
-
Carefully remove the bung, airlock, and then lid from the fermenter. Take and record a specific gravity reading. The target gravity is 0.995 or less. Check the wine to ensure it is clear. If it's not yet clear, leave for a few more days.
-
Rack wine into your primary fermenter. Take only clear wine and leave all sediment behind.
-
Rack wine from the fermenter into your bottles. Leave 1½ inches (about two finger-widths) of space between the bottom of the cork and the top of the wine.
-
Insert corks into bottles with a corker.
-
Stand bottles upright for 3 days before turning them on their side for aging.
-
Store bottles in a dark, cool, temperature-stable place.
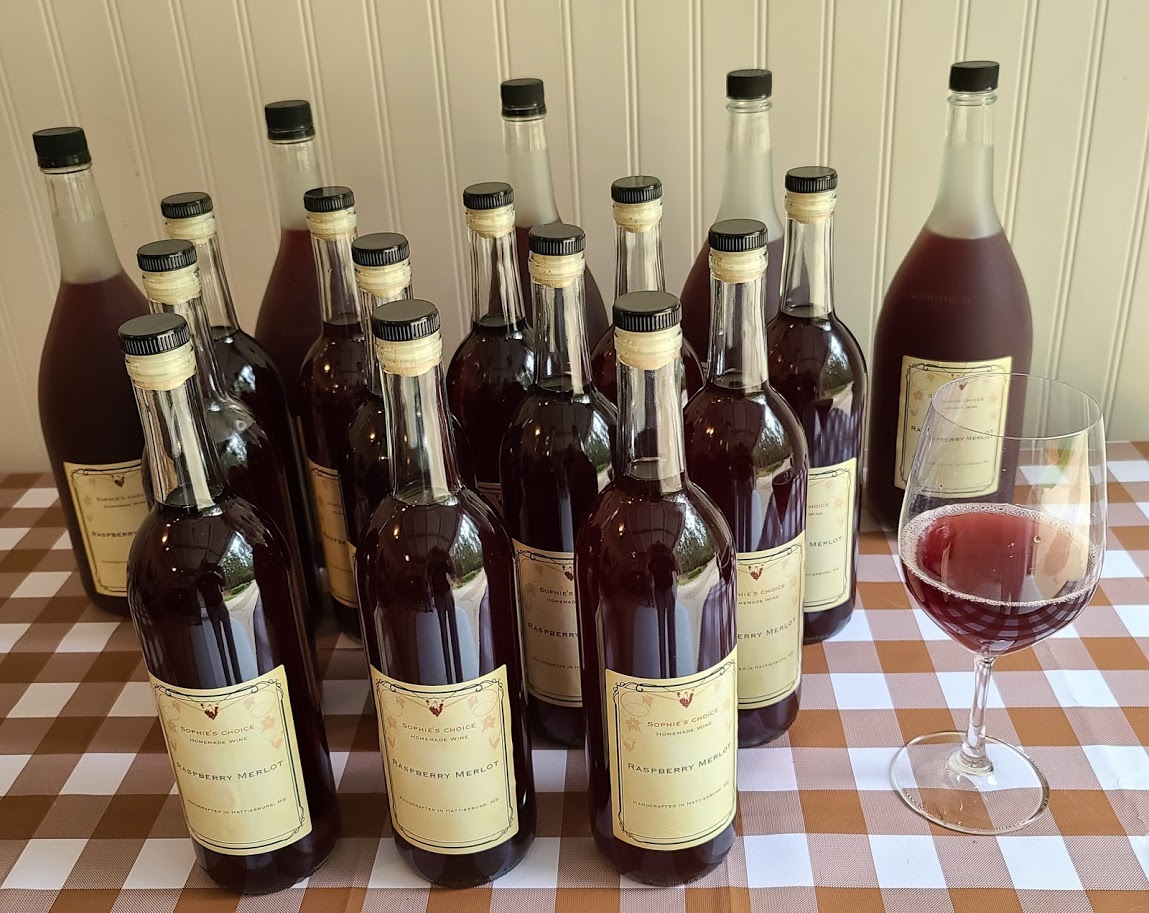
Our first batch of handmade Rasberry Merlot was bottled on 06/26/2020 and named for our Springer Spaniel "Sophie".